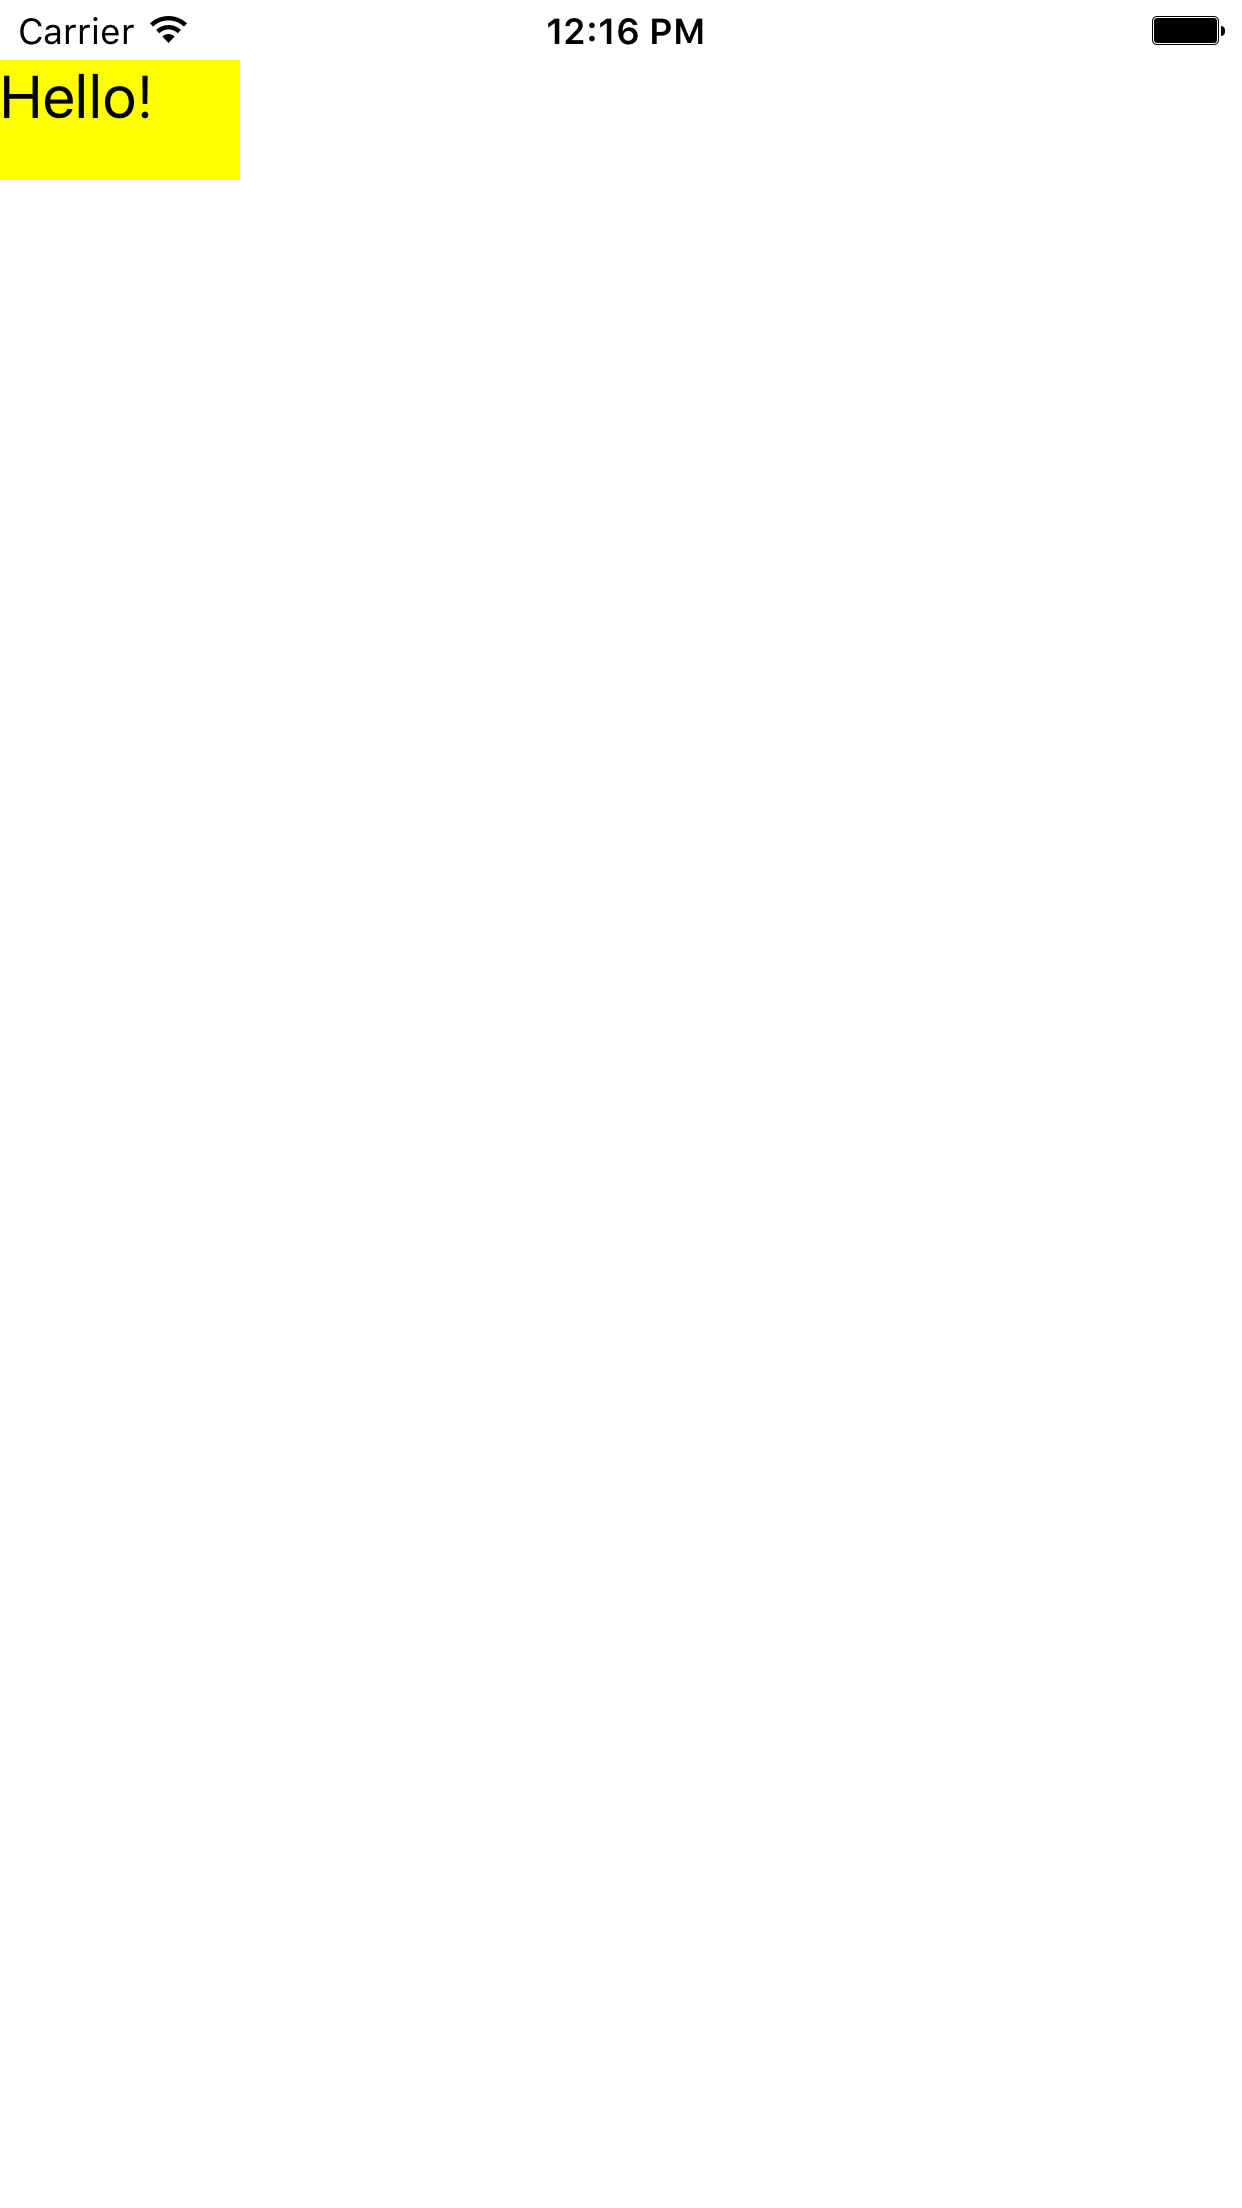
LittleView
at each point where the finger touches.
In the
touchesBegan(_:with:)
method of the big
View,
change
littleView.center = point; //Move the littleView to a new location.to
		//Rectangle f is centered at the point where the user touched.
		let f: CGRect = CGRect(x: point.x - 40, y: point.y - 20, width: 80, height: 40);

		//Create a LittleView framed by f
		//and insert it into the big white View.
		addSubview(LittleView(frame: f));
You can now remove the stored property
littleView,
since it is no longer used.
Run the app and touch the screen in a few places.
Then change it back.
LittleView
jumps as soon as the touch begins because we named our method
touchesBegan(_:with:).
Change the name of the method to
touchesEnded(_:with:)
and verify that the
LittleView
now jumps when the touch ends.
Then change it back.
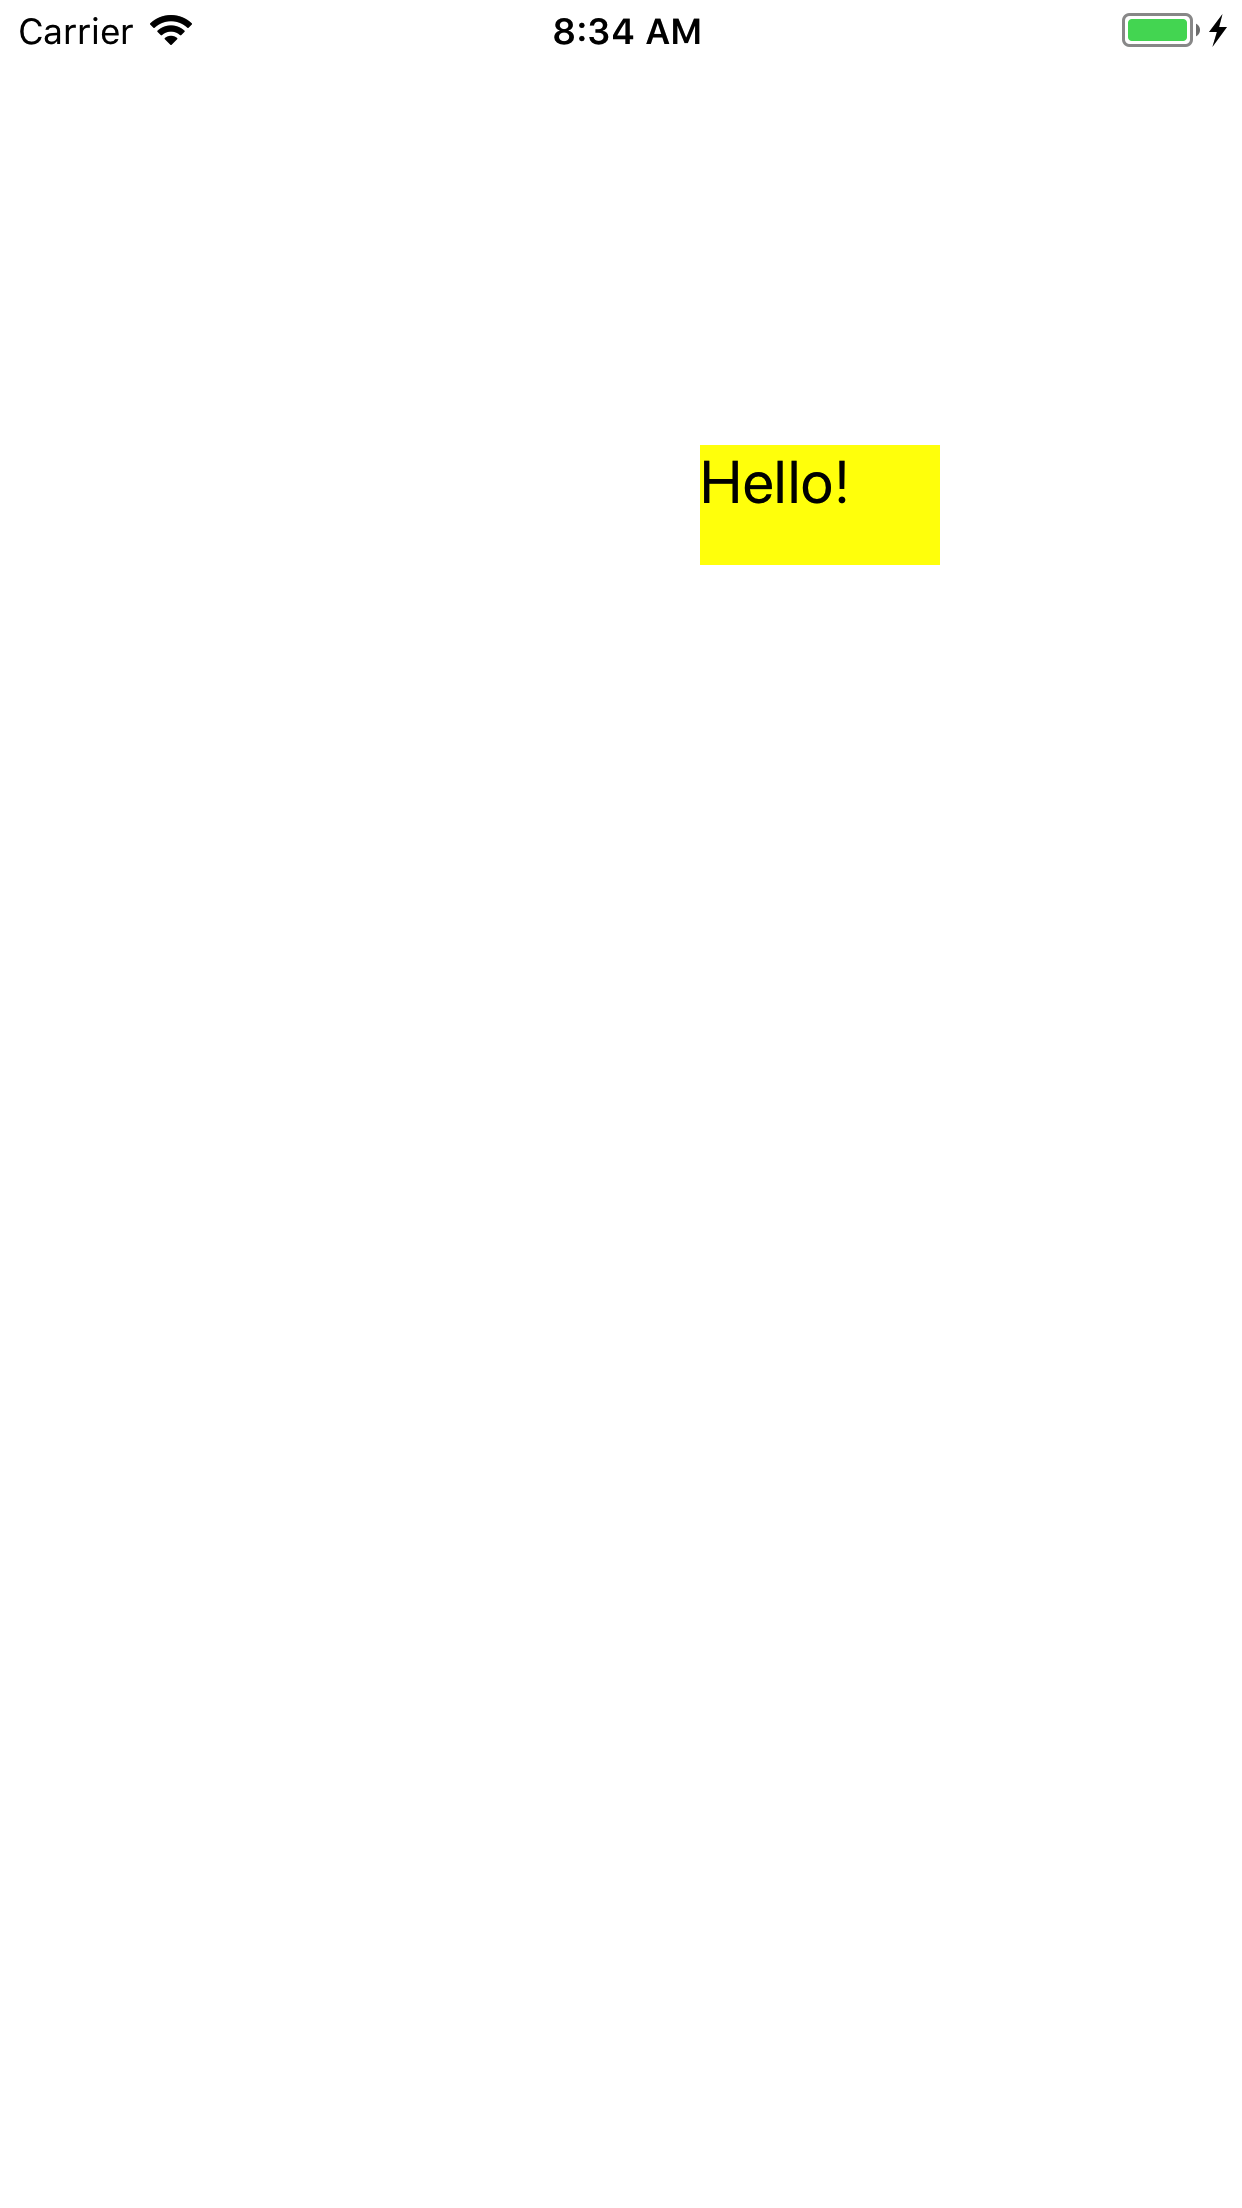
LittleView
draggable.
Change the name of the method from
touchesBegan(_:with:)
to
touchesMoved(_:with:)
and verify that you can drag on
LittleView.
Be careful not to grab the status bar.
Then change it back.
(touchesMoved(_:with:)
can call
previousLocationInView:
as well as
locationInView:.)
There is also
touchesCancelled(_:with:).
A parallel series of methods detects when the iPhone is moved:
motionBegan(_:with:),
motionEnded(_:with:),
etc.
See
Motion
Events
and
Remote
Control Events.
LittleView
draggable.
In addition, it will become green when we start to drag it,
and change back to to yellow when the drag is ended.
Give class
View
the following three methods.
	override func touchesBegan(touches: Set<UITouch>, withEvent event: UIEvent?) {
		littleView.backgroundColor = UIColor.greenColor();
	}

	override func touchesMoved(touches: Set<UITouch>, withEvent event: UIEvent?) {
		let touch: UITouch = touches.first!;
		let point: CGPoint = touch.locationInView(self);
		littleView.center = point;	//Move the littleView to a new location.
	}

	override func touchesEnded(touches: Set<UITouch>, withEvent event: UIEvent?) {
		littleView.backgroundColor = UIColor.yellowColor();
	}
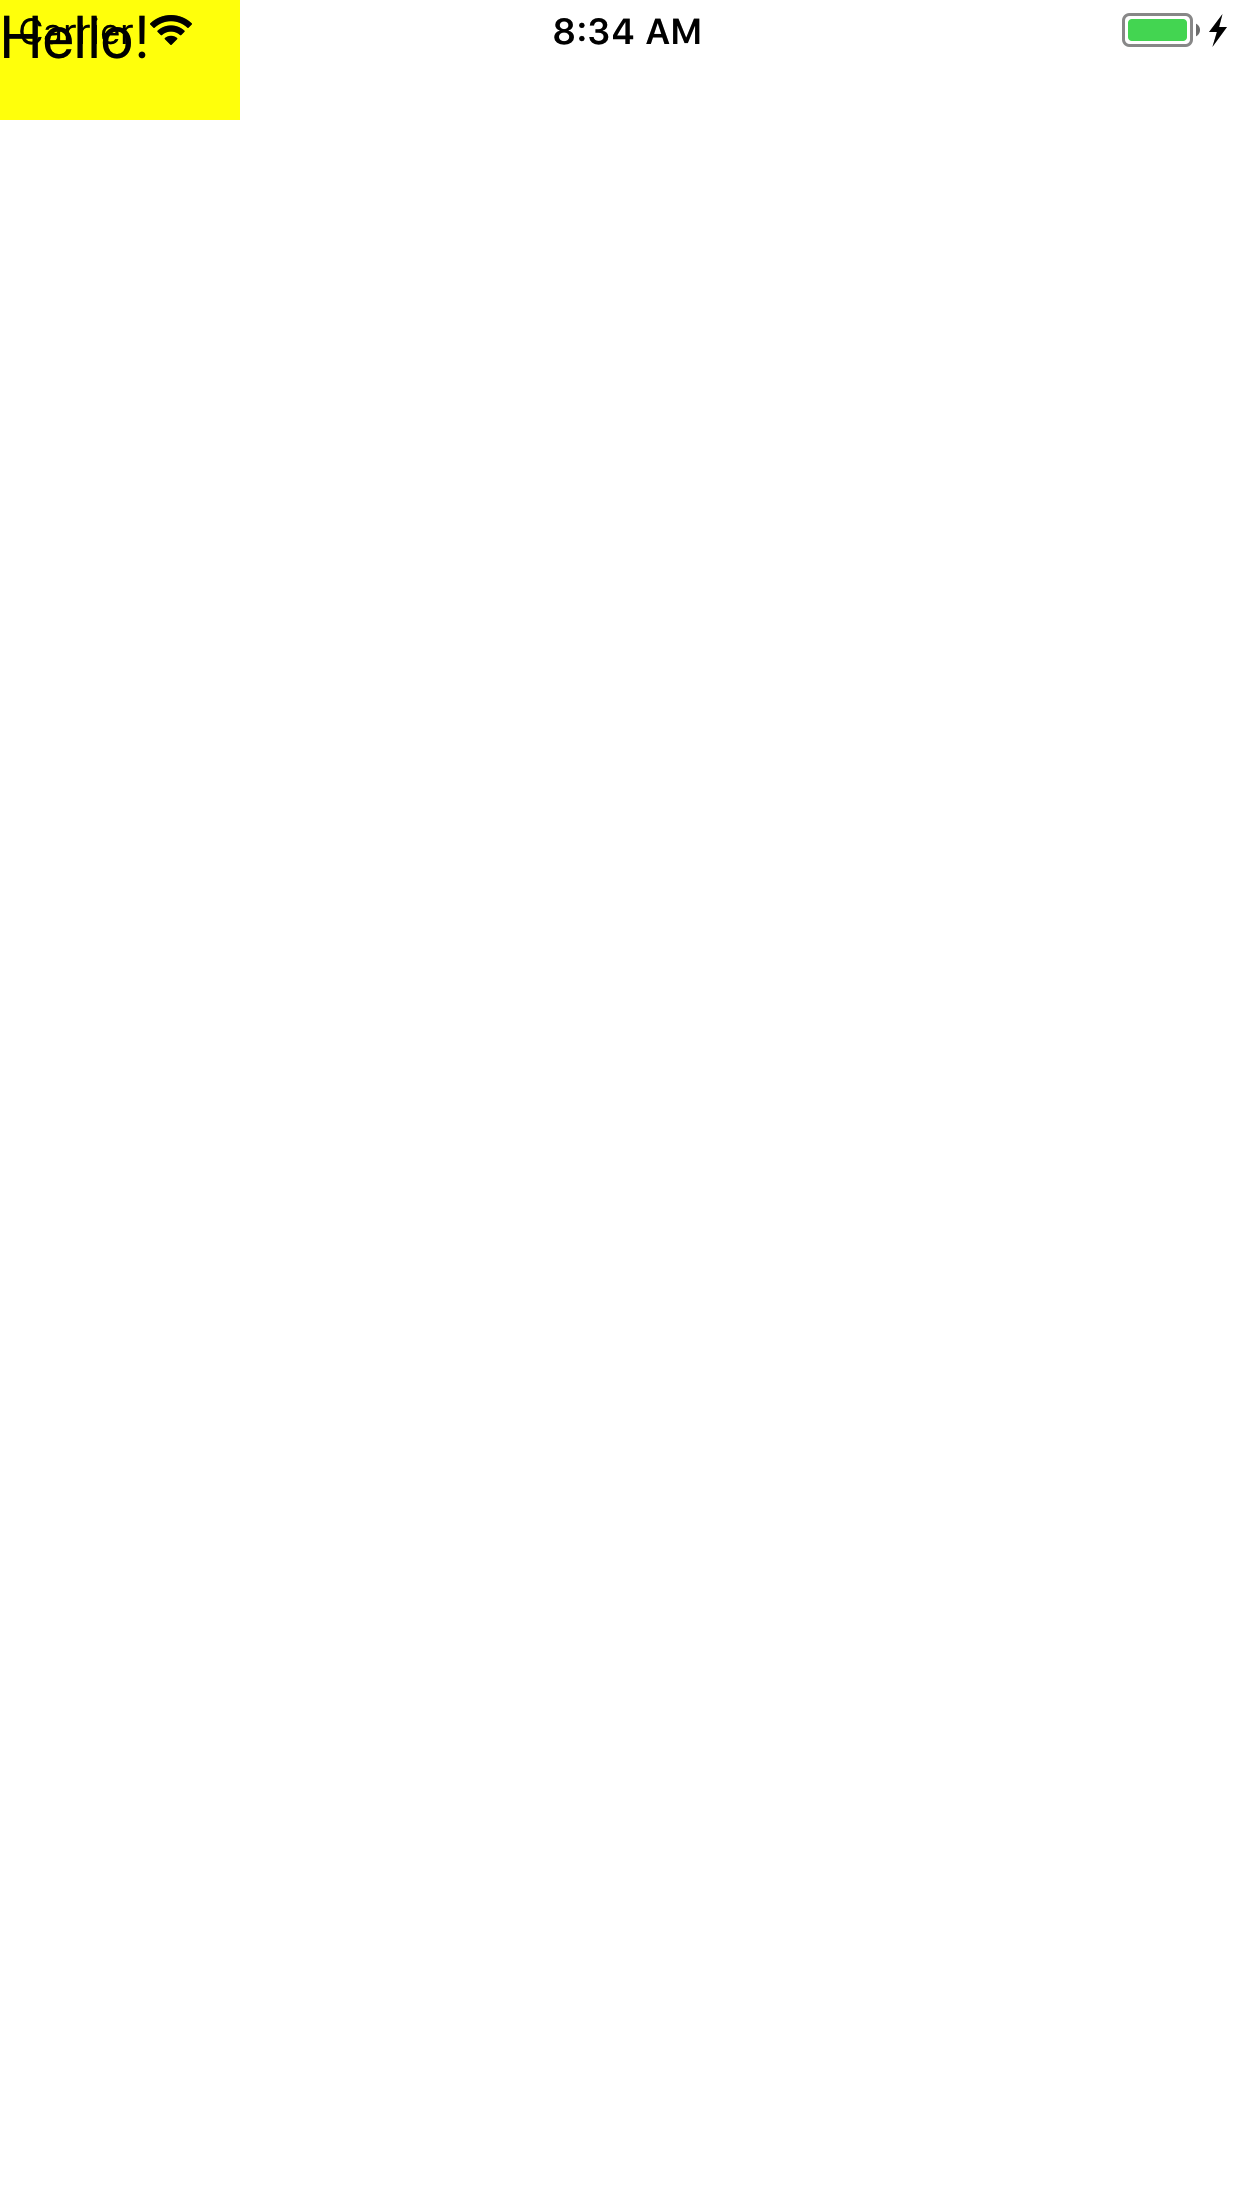
LittleView
should be initially positioned below the
status
bar.
The
topLayoutGuide
of the view controller gives us the hight of the status bar,
but unfortunately this property is not yet available when the
View
is being created.
Add the following method to class
View.
It will be called automatically when the
topLayoutGuide
becomes available.
	override func layoutSubviews() {
		let application: UIApplication = UIApplication.sharedApplication();
		let appDelegate: AppDelegate = application.delegate as! AppDelegate;
		let window: UIWindow = appDelegate.window!;
		let viewController: ViewController = window.rootViewController as! ViewController;
		if littleView.frame.origin.y < viewController.topLayoutGuide.length {
			littleView.frame.origin.y = viewController.topLayoutGuide.length;
		}
	}

littleView.
Remove it and change the call to
addSubview(_:)
to the following.
addSubview(LittleView(frame: f));Then change each use of
littleView
to
subviews.last!.
For example,
subviews.last!.center = point; //Move the LittleView to a new location.

