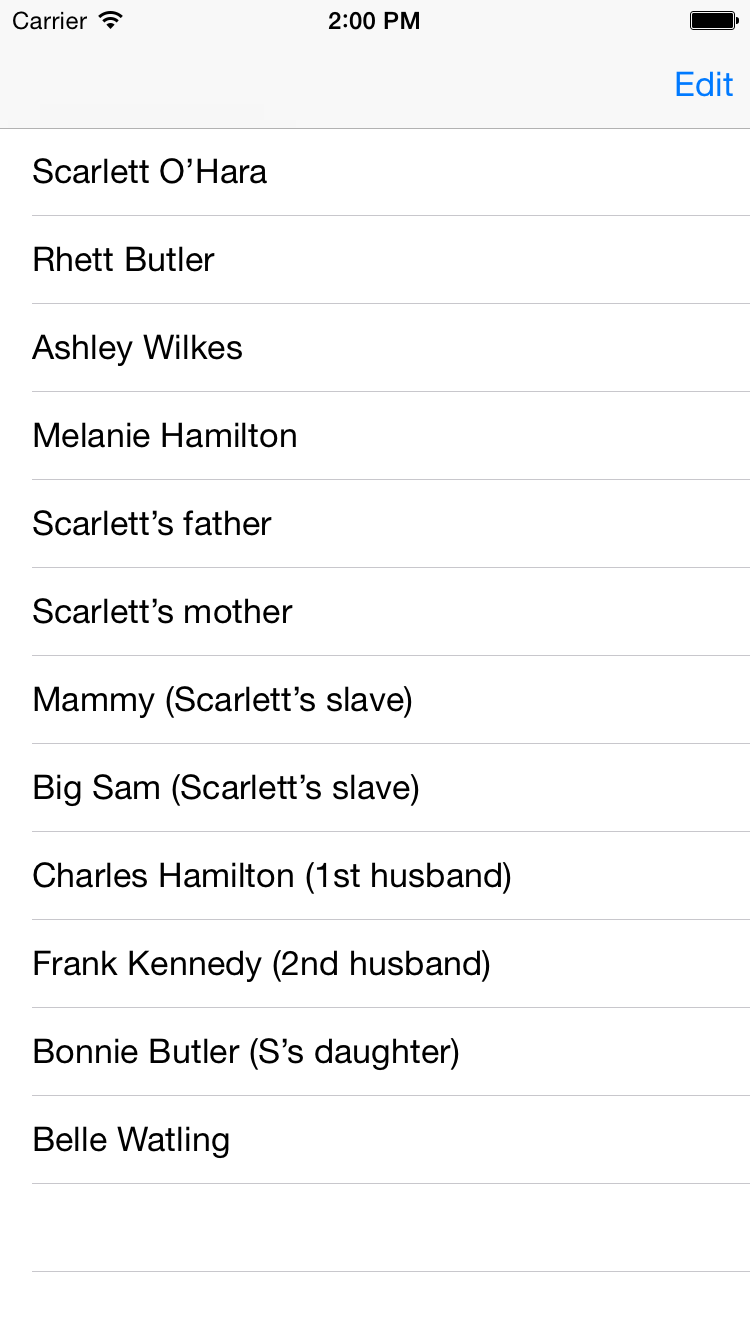
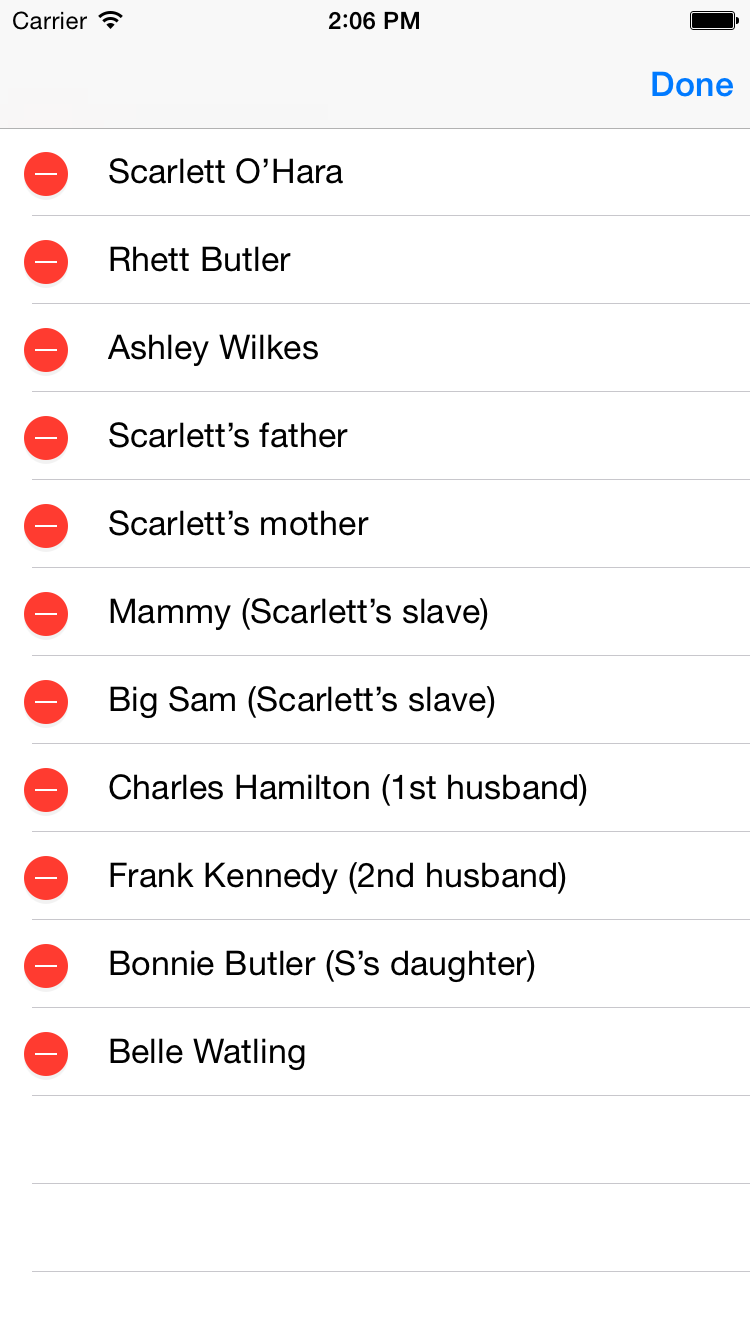
Press the
Edit
button
and delete the characters that die in
Gone
with the Wind.
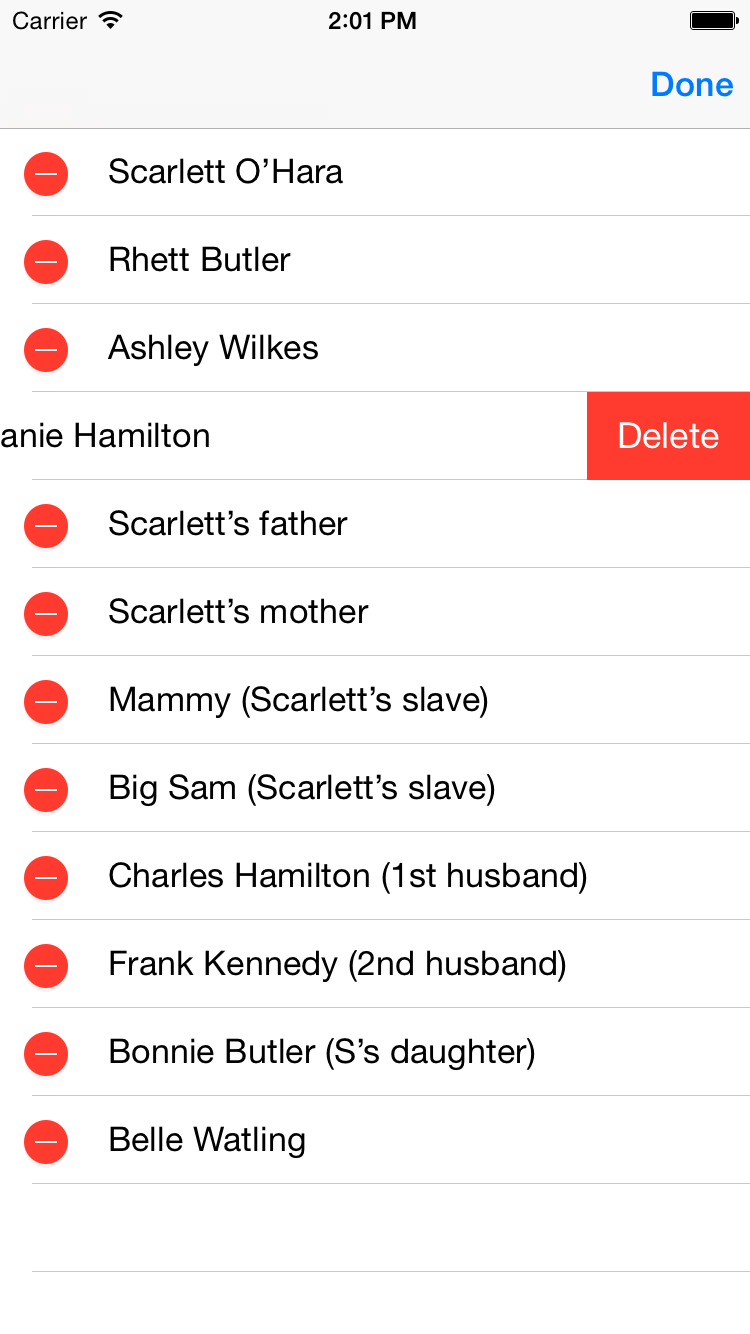
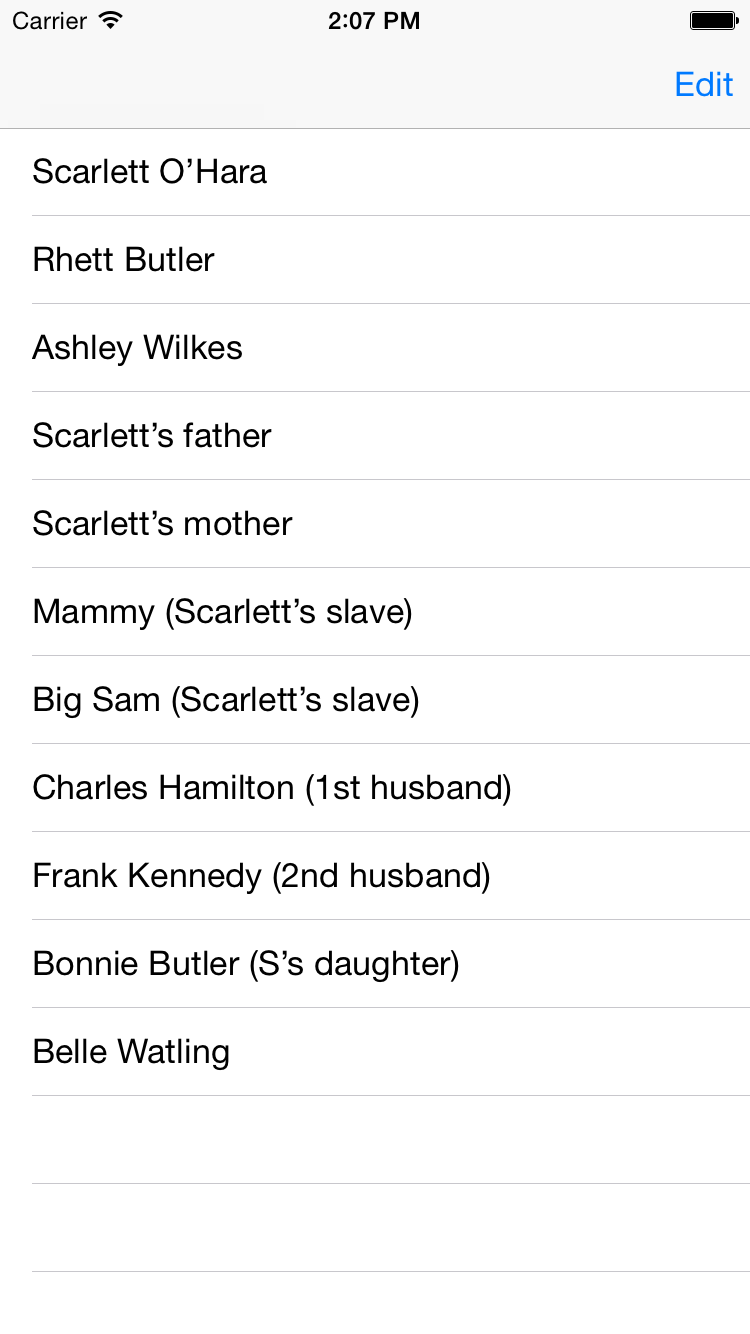
Then press Done,
which calls the
tableView(_:commitEditingStyle:forRowAtIndexPath:)
method of the
data
source.
The expression
[indexPath]
in this method is an array
containing the
indexPath.
-
Class
AppDelegate.swift
creates a
TableViewController
and puts it under a
UINavigationController
to make the
TableViewController’s
navigation bar visible.
-
Class
TableViewController
is also the data source,
containing the method
tableView(_:commitEditingStyle:forRowAtIndexPath:).
The Edit/Done button is created by the method
viewDidLoad.
Create the project
Select the
Goner
folder in the Xcode Project Navigator.
File →
New →
File…
Chose a template for your new file:
iOS Source/Cocoa Touch Class
Next
Choose options for your new file:
Class:
TableViewController
Subclass of:
UITableViewController
Next
Create
Select Main.storyboard in the Xcode Project Navigator.
Open the left pane of the center panel of Xcode as far as
▼ View Controller Scene
   ▶ View Controller
   First Responder
   Exit
and select the View Controller.
In the right panel of Xcode,
click on the icon for the Identity inspector.
It’s a rectangle with a smaller rectangle in its upper left corner.
Custom Class
Class: UINavigationController
Module: (leave it blank)
Control-click on ViewController.swift in the Xcode Project Navigator
and select Delete.
Do you want to move the file “ViewController.swift”
to the Trash, or only remove the reference to it?
Move to Trash.
Apostrophe
Scarlett O’Hara
looks better with an apostrophe
(Unicode
\u2019),
than with a single quote
(Unicode
\u0039).
I’ll make them bigger so you can see the difference:
O’Hara (apostrophe)
O'Hara (single quote)
Edit → Special Characters… → Punctuation
The view controllers
To display the navigation bar at the top of the window,
we have to put a
view
controller
above the
table
view,
and a
navigation
controller
above the view controller.
The view controller immediately above a
table
view
must be of a subclass of
table
view controller.
The
table
view controller
will act as the
table
view’s
data
source
and
delegate.
It wears three hats:
view controller, data source, and delegate.
Our
TableViewController
serves as
the table view’s
data
source
and the table view’s
delegate.
Since it is the
data
source,
it contains the
characters
array and the following methods.
-
numberOfSectionsInTableView(_:)
-
tableView(_:numberOfRowsInSection:)
-
tableView(_:cellForRowAtIndexPath:)
returns a
UITableViewCell
-
tableView(_:commitEditingStyle:forRowAtIndexPath:)
modifies the
characters
array and the table view.
Ours deletes one cell.
Since our
TableViewController
is also table view’s delegate,
it can also have the following method.
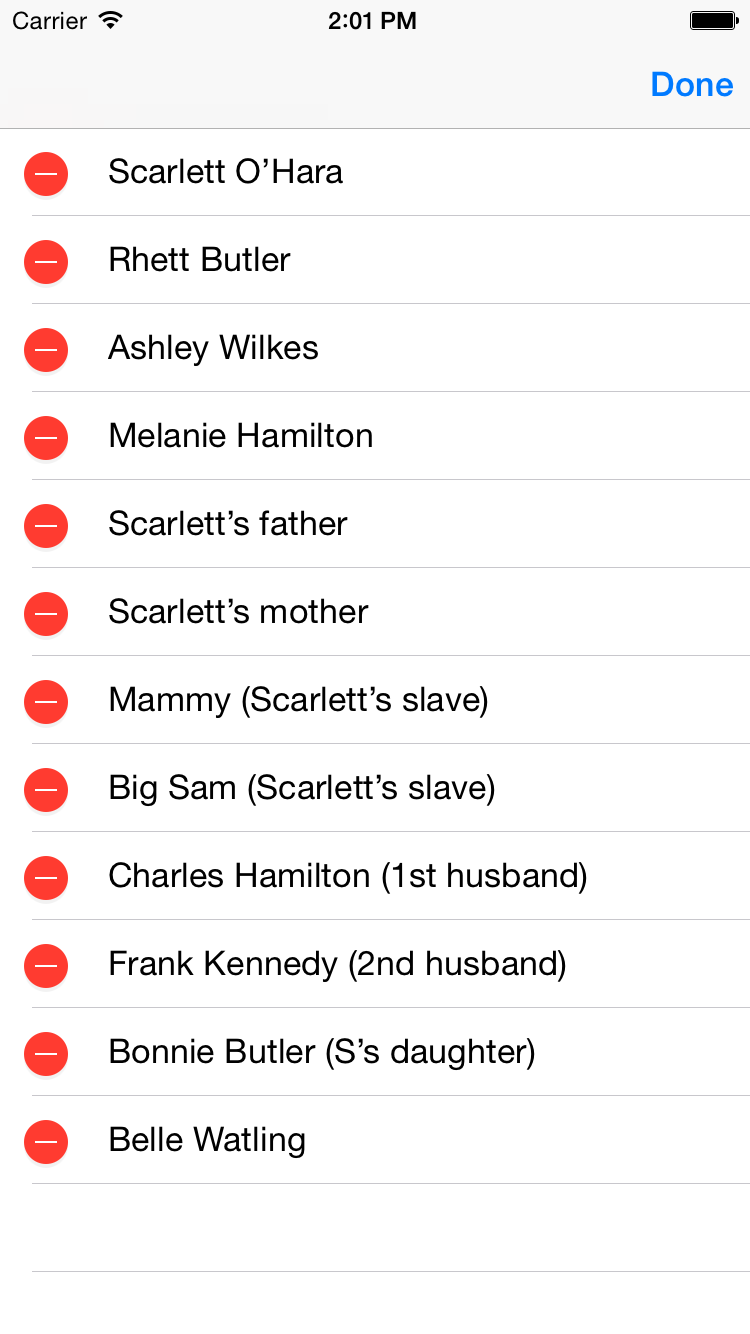
We didn’t bother to write the method,
since we’re satisfied with the version of the method that
TableViewController
inherits from its superclass
UITableViewController.
This inherited method gives each cell a
red
minus.
-
tableView(_:editingStyleForRowAtIndexPath:)
decides if this cell should be marked with a
red
minus
or a
green
plus
when the table view is in
editing
mode.
Things to try
- [Gone to the left with the wind,
gone to the right with the wind.]
In the
tableView(_:commitEditingStyle:forRowAtIndexPath:)
method of the
data
source,
change
UITableViewRowAnimation.Fade
to
UITableViewRowAnimation.Left.
It used to make a difference in iOS 6,
but I don’t see much difference now.
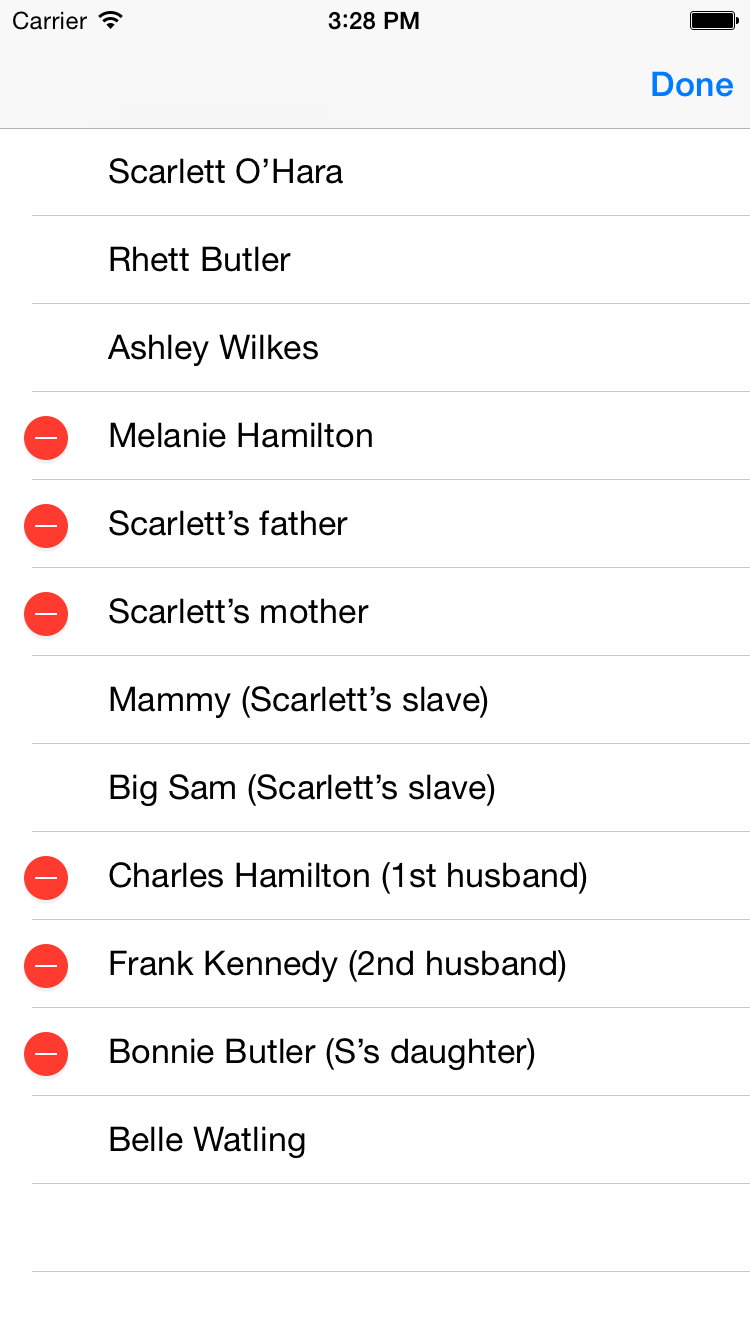
- [For users unfamiliar with the
movie.]
Display the
red
minus
only for characters that actually die during the movie.
Add the following property and method
to the table view’s
delegate.
	let doomed: NSSet = NSSet(array: [
		"Melanie Hamilton",
		"Scarlett’s father",
		"Scarlett’s mother",
		"Charles Hamilton (1st husband)",
		"Frank Kennedy (2nd husband)",
		"Bonnie Butler (S’s daughter)"
	]);
	override func tableView(tableView: UITableView, editingStyleForRowAtIndexPath indexPath: NSIndexPath)
		-> UITableViewCellEditingStyle {

		let tableViewCell: UITableViewCell? = tableView.cellForRowAtIndexPath(indexPath);
		if tableViewCell != nil
			&& tableViewCell!.textLabel != nil
			&& tableViewCell!.textLabel!.text != nil
			&& doomed.containsObject(tableViewCell!.textLabel!.text!) {
			return UITableViewCellEditingStyle.Delete;
		}
		return UITableViewCellEditingStyle.None;
	}